Ninja Slushie Chocolate Milkshake with Condensed Milk
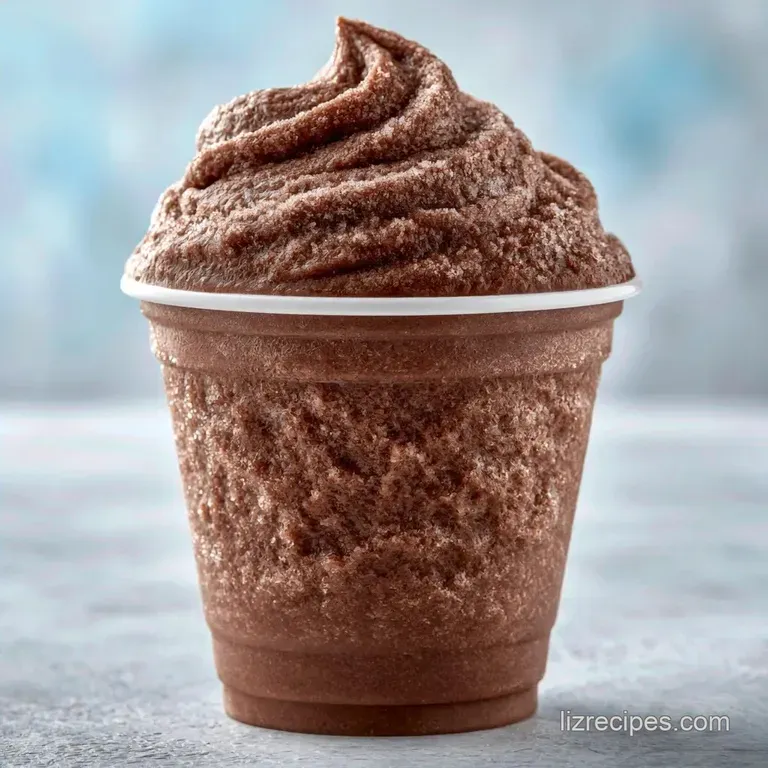
- Time: 10 min active + 20 min churning
- Flavor/Texture Hook: Thick, mahogany colored frozen ribbons
- Perfect for: Weekend treats or a creative morning pick me-up
Imagine the sound of that machine whirring in your kitchen at 10 AM. There's something about the smell of cold cocoa and vanilla that just makes the whole morning feel more creative. I've always been obsessed with the idea of a treat that feels like an event, not just a snack.
We've all dealt with the drive thru disappointment. You pay way too much for a shake, but it turns into a sugary soup before you even leave the parking lot. Or you try using a regular blender, and you end up with those annoying, jagged ice chunks that get stuck in the straw.
It's frustrating when you just want a smooth, frosty drink.
This approach fixes that by using the right sugar to fat ratio. The Ninja Slushie Chocolate Milkshake Recipe relies on the machine's specific rotation to aerate the liquid. You get a result that's thick and holds its shape, which is exactly what we're after.
Why This Mix Actually Works
Sugar Levels: Sweetened condensed milk lowers the freezing point. This keeps the drink scoopable instead of turning it into a giant ice cube.
Fat Content: Heavy cream adds lipids that coat the ice crystals. This is what creates that smooth, professional feel on your tongue.
The Necessary Tools
You'll need the Ninja SLUSHi machine for the actual churning. A large mixing pitcher works best for the prep so you have plenty of room to whisk without splashing. A simple hand whisk is all you need to get the condensed milk integrated.
The Ingredient List
For the base, use a quality chocolate milk. If you're using a brand like Nesquik, the sugar balance is already pretty good.
- 4 cups chocolate milk Why this? Provides the core flavor and liquid base (Substitute: Chocolate soy milk)
- 1 can (14 oz) sweetened condensed milk Why this? Prevents ice crystals and adds thickness (Substitute: Simple syrup + extra milk)
- 1 tsp vanilla extract Why this? Rounds out the cocoa notes (Substitute: Maple syrup)
- 1/4 tsp salt Why this? Cuts through the heavy sweetness (Substitute: Pinch of espresso powder)
- 1/2 cup heavy cream Why this? Ensures a rich, velvety finish (Substitute: Full fat coconut milk)
Quick Recipe Details
This recipe is designed for a standard batch that fills the reservoir comfortably.
- Prep time:10 minutes
- Churn time:20 minutes
- Total time:30 minutes
- Yield: 4 servings
How to Make It
Preparing the Base
- Pour chocolate milk into your pitcher.
- Add the sweetened condensed milk, vanilla, and salt.
- Whisk vigorously until the mixture is a uniform mahogany color. Note: Ensure no thick clumps of condensed milk remain at the bottom.
- Fold in the heavy cream. Stir gently until no white streaks remain.
Using the Machine
- Pour the mixture into the Ninja SLUSH reservoir.
- Check the level until it is below the Max Fill line. Note: Overfilling causes the lid to leak during aeration.
- Secure the lid tightly.
- Select the MILKSHAKE preset.
- Start the cycle and churn until the machine beeps.
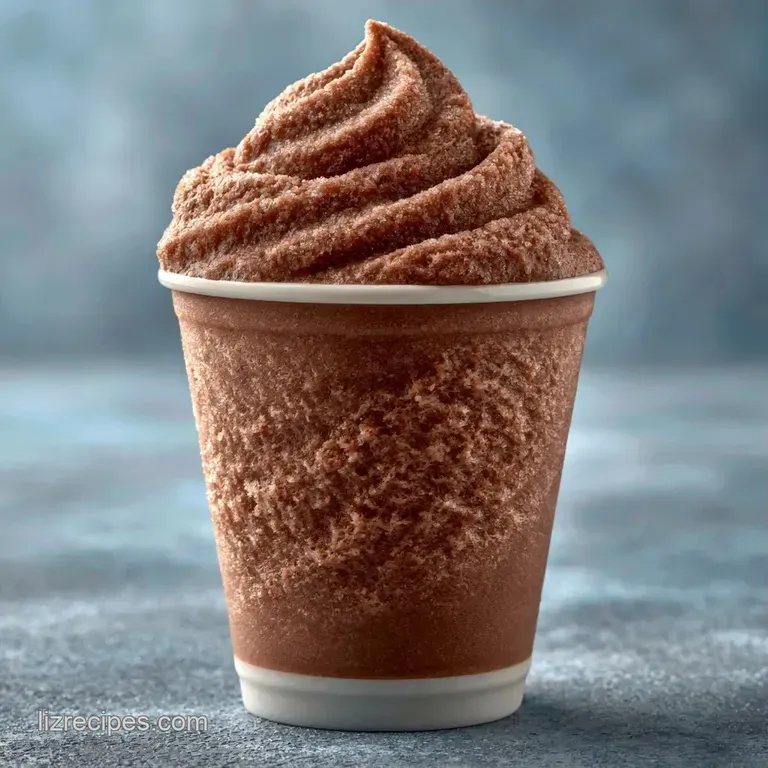
- Dispense the shake until you see thick, frozen ribbons swirling into the glass.
Fixing Texture Problems
If your shake comes out too liquid, it's usually because the mixture was too warm when it entered the machine. Let your chocolate milk sit in the fridge for an hour before mixing. If it's too icy, you might need a bit more sugar to lower the freezing point. For more ideas on rich chocolate textures, you might like how my Fantasy Fudge recipe handles sugar and fat.
Avoiding Liquid Results
When the machine doesn't thicken, check your fat ratio. low-fat milk won't hold the air bubbles as well as full fat options.
Managing Overflow
If the mixture bubbles over, you've likely exceeded the Max Fill line. Pour out a half cup of the mix and restart the cycle.
| Problem | Fix |
|---|---|
| Grainy/Icy Texture | Add 2 tbsp chocolate syrup and churn 5 more mins |
| Too Runny | Chill the base in the fridge for 30 mins then restart |
| Lid Leaking | Reduce liquid level to 1 inch below Max Fill |
Storage and Waste
You can keep the leftover base in a sealed jar in the fridge for 3 days. Just pour it back into the machine when you're ready for more. If you have a bit of shake left in the machine that's too thick to pour, scrape it into a container and freeze it for 2 hours to make "shake pops."
To avoid waste, use any leftover heavy cream in your morning coffee or a quick sauce. If you're clearing out the pantry, this recipe is a great way to use up the last bit of a condensed milk can.
Mix ins and Twists
For a darker, more adult taste, replace one cup of chocolate milk with chilled espresso. This turns it into a mocha slushie. If you want a bit of a crunch, try adding crushed Oreos or chopped nuts right as you dispense the shake into the glass.
For those who love a chocolate heavy treat, this pairs well with a side of Chocolate No Bake Cookies.
- For a firmer set
- Use 3/4 cup heavy cream instead of 1/2 cup.
- For a lighter taste
- Swap condensed milk for 1/2 cup honey.
- For a minty twist
- Add 1/2 tsp peppermint extract to the whisking stage.
Since we're focusing on the look, try these color accents to make it pop: 1. A bright red maraschino cherry on top for a classic diner look. 2. A sprig of fresh green mint to contrast the deep brown. 3. A dusting of gold sprinkles for something more festive.
| Base Choice | Result | Why It Works |
|---|---|---|
| Heavy Cream | Silky and rich | High fat prevents large ice crystals |
| Vanilla Ice Cream | Denser and sweeter | Adds pre frozen solids to the mix |
Best Side Pairings
Because this shake is so indulgent, it pairs perfectly with salty or tangy flavors. Fresh strawberries or raspberries help balance the richness of the chocolate. Salted pretzels are another great option, offering a crunchy contrast to the smooth, slushie like texture.
For a brunch occasion, serve it alongside a plate of crisp, salty bacon.
Recipe FAQs
Can the Ninja SLUSHi machine make real milkshakes?
It produces thick, frozen ribbon shakes using the specialized milkshake preset.
Tip: Use softened vanilla ice cream instead of heavy cream for an even denser treat.
How to integrate condensed milk into the mix?
Whisk the sweetened condensed milk, chocolate milk, vanilla, and salt in a pitcher until smooth.
Tip: Stir vigorously to ensure the thick syrup is fully combined before adding the cream.
Is it true that plain chocolate milk alone works in the Ninja SLUSHi?
Actually, no. Plain milk lacks the necessary fat and sugar to create a creamy, non-icy texture.
Tip: Always include the heavy cream to ensure the mixture doesn't freeze into a block of ice.
Does this method work for vanilla shakes?
Swap the chocolate milk for whole milk while maintaining the rest of the ratios.
Tip: If you enjoyed mastering the creamy texture here, see how a similar dairy emulsion works in our creamy salad.
Ninja Slushie Chocolate Milkshake