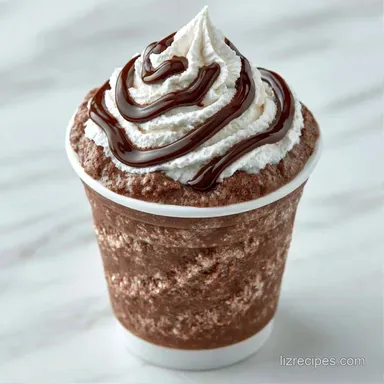
Chocolate Milkshake Slushie with Heavy Cream
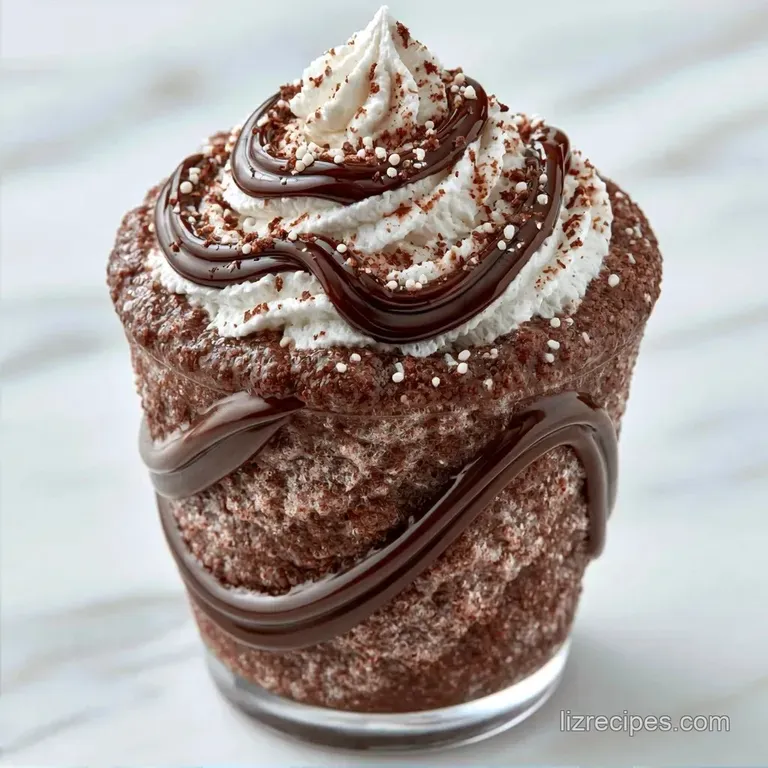
- Time: 10 min active + 20 min churning
- Flavor/Texture Hook: Deep mahogany color with a thick, frost kissed glide
- Perfect for: A creative morning treat or a weekend family splurge
That low, rhythmic hum of the machine is the first sign that something magic is happening in the kitchen. I love starting my morning with a bit of creative energy, and there is nothing quite like the sight of a dark, chocolatey swirl slowly thickening into a frozen cloud.
The smell of cocoa fills the room, mixing with the crisp morning air, making the whole house feel like a high end dessert shop.
I used to think frozen drinks had to be icy or thin, but this approach changes everything. By focusing on the richness of the base, you get something that feels like a hybrid between a traditional shake and a snow cone. It is the kind of drink that turns a boring Tuesday into a celebration.
You can expect a treat that is heavy on the chocolate but balanced enough not to be cloying. This Chocolate Milkshake Slushie creates a texture that holds a straw perfectly upright without being a solid block of ice. Let's get into how to make it happen.
How to Nail This Chocolate Milkshake Slushie
The Sugar Balance: Sweetened condensed milk lowers the freezing point. This means the machine creates tiny crystals instead of big ice chunks, giving you a smooth glide.
Air Incorporation: The churning process folds air into the heavy cream. This lightens the density so the drink feels airy rather than like a frozen brick.
Fat Content: Using whole milk and cream provides the structure needed to support the cocoa solids. This prevents the chocolate from separating during the 20 minutes of churning.
What Each Ingredient Does
| Ingredient | Role | If You Don't Have It |
|---|---|---|
| Sweetened Condensed Milk | Lowers freezing point | Maple syrup (less thick) |
| Heavy Cream | Adds airy structure | Full fat coconut milk |
| Unsweetened Cocoa Powder | Provides deep chocolate flavor | Melted dark chocolate |
| Whole Chocolate Milk | Main liquid base | Oat milk + cocoa |
Recipe Specs
Right then, let's look at the numbers. This recipe is designed for a group, providing a generous portion for four people.
| Spec | Detail |
|---|---|
| Prep Time | 10 minutes |
| Churn Time | 20 minutes |
| Total Time | 30 minutes |
| Yield | 4 servings |
I've found that sticking to these times is key. If you pull the mixture out too early, it remains a liquid; too late, and it becomes too stiff to dispense.
Equipment Needed
You will need a mixing pitcher and a whisk to get the base smooth. A handheld frother also works if you want to speed up the process.
The main tool is the Ninja Slushi vessel. I've tried using standard blenders for this, but they require adding ice, which waters down the flavor. The specialized machine keeps the flavor concentrated.
Finally, grab four chilled glasses. Putting your glasses in the freezer for 10 minutes before pouring prevents the Chocolate Milkshake Slushie from melting the second it hits the glass.
Bringing It Together
Step 1: Emulsifying the Flavor
Combine the cocoa powder and sweetened condensed milk in your mixing pitcher. Whisk vigorously until a smooth, dark paste forms. Note: This prevents cocoa clumps in the final drink.
Step 2: Mixing the Base
Slowly stream in the chocolate milk and heavy cream. Whisk until the mixture is mahogany colored and completely lump free.
Step 3: Loading the Machine
Pour the mixture into the Ninja Slushi vessel. Secure the lid tightly to avoid any leaks during the spin.
Step 4: Programming the Cycle
Select the MILKSHAKE preset. Allow the machine to churn for 20 minutes until the consistency shifts to a thick, rhythmic thrum.
Step 5: The Final Pour
Wait for the machine to signal completion with three beeps. Dispense the Chocolate Milkshake Slushie into your chilled glasses immediately.
Step 6: Adding the White Accent
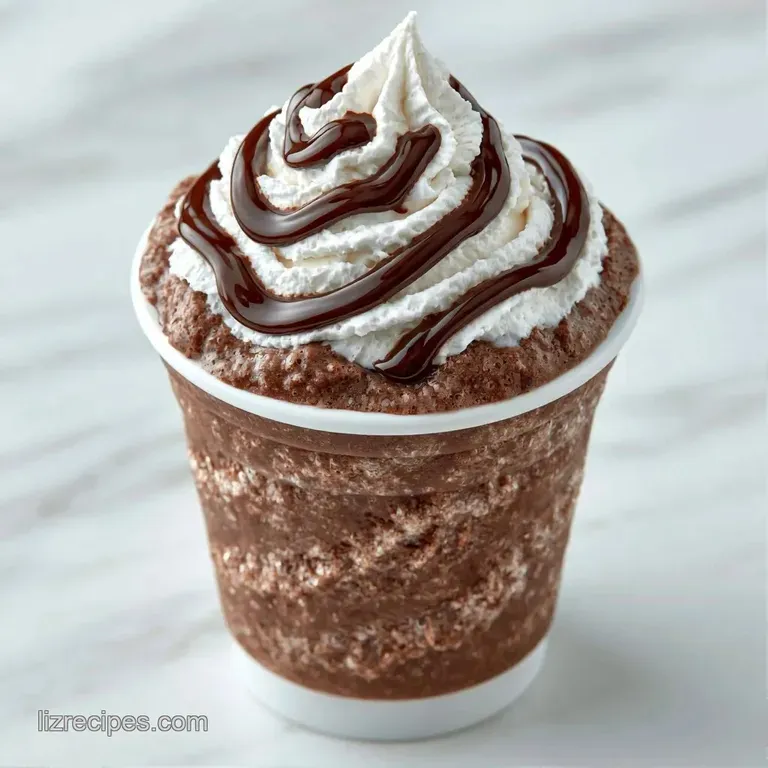
Top each glass with a generous swirl of whipped cream. This bright white contrast makes the deep brown of the shake pop.
Step 7: The Chocolate Drizzle
Add a spiral drizzle of chocolate syrup over the cream. Use a slow, circular motion for a professional look.
Step 8: The Final Crunch
Sprinkle a handful of mini chocolate chips on top. These add a necessary textural contrast to the smooth drink.
Pro Tips & Pitfalls
The most common issue is getting the texture wrong. If the mix is too thin, it usually means there isn't enough sugar or fat to stabilize the crystals. Conversely, if it's too thick, you might have over churned it or used a cream with too high a fat percentage.
According to Serious Eats, the ratio of sugar to water is what dictates how "icy" a frozen dessert feels. In this recipe, the condensed milk handles that job.
Fixing Icy Textures
If you notice ice crystals, your base lacked enough solids. You can whisk in another tablespoon of condensed milk before churning.
Preventing Machine Overflow
Fill the vessel only to the max line. The mixture expands as air is incorporated, and overfilling leads to a sticky mess.
Solving Thin Consistency
This happens when the machine hasn't run long enough or the liquid was too warm. Ensure your chocolate milk is cold before pouring it into the vessel.
| Problem | Fix |
|---|---|
| Grainy texture | Add 1 tbsp sweetened condensed milk |
| Too liquid | Churn for 5 more minutes |
| Overflowing | Reduce liquid volume by 1/2 cup |
Preservation Guidelines
Place any remaining Chocolate Milkshake Slushie in a sealed container and keep it in the freezer. It will remain firm for about 2 days.
To enjoy it once more, let it thaw on the counter for 5 to 10 minutes. You may also pulse it quickly in a blender to regain its airy consistency.
To minimize waste, stir any unfrozen chocolate base into your morning oatmeal or use it as a dip for fresh strawberries. It is simply too rich to toss.
Pairing Ideas
Since this treat is quite rich, I love pairing it with something tart or salty. Fresh raspberries or sliced Granny Smith apples provide a sharp contrast to the deep cocoa.
If you are serving this as part of a larger dessert spread, try pairing it with a Slushie Milkshake for 4 recipe to give your guests a choice of flavors. The red and brown colors look great side by side on a platter.
A small bowl of salted pretzels is another winner. The salt cuts through the sweetness of the condensed milk and makes the chocolate flavor feel more intense.
Creative Twists and Swaps
If you want to change the vibe, try adding a teaspoon of peppermint extract for a winter version. It transforms the Chocolate Milkshake Slushie into something that tastes like a frozen peppermint patty.
For those who prefer a different flavor profile entirely, you might enjoy my Vanilla Milkshake Slushie which uses a similar base but swaps the cocoa for high-quality vanilla bean paste.
Quick tweaks for different goals: More bitterness? → add 1 tsp espresso powder Nuttier flavor? → swap chocolate milk for almond milk Extra richness? → add 1 tbsp melted butter to the paste
| Original Ingredient | Substitute | Why It Works |
|---|---|---|
| Heavy Cream | Full fat Coconut Milk | Similar fat content. Note: Adds a slight coconut flavor |
| Whole Chocolate Milk | Oat Milk + Cocoa | Creamy texture. Note: Slightly earthier taste |
| Mini Chocolate Chips | Toasted Hazelnuts | Adds crunch. Note: Changes flavor to "Nutella" style |
Right then, just remember that the balance of colors is what makes this look as good as it tastes. The deep mahogany base, the snow white cream, and the dark chips create a visual appeal that makes the drink feel special.
Common Myths
Some people believe that adding more ice makes a shake thicker. In reality, ice just dilutes the flavor and creates a grainy texture. The thickness here comes from the fat in the cream and the sugars in the condensed milk.
Another myth is that you need a professional shop machine to get this consistency. While the Ninja Slushi is great, the real magic is in the ingredient ratios. As long as you have enough sugar and fat, you can achieve a smooth result.
Final Thoughts on the Process
Making a Chocolate Milkshake Slushie is all about patience during the churning phase. It is tempting to peek or stop the machine early, but those last five minutes are when the texture really settles into that velvety glide.
I am obsessed with how this drink starts the day on a high note. It is a reminder that cooking and blending can be a form of art. Whether you are making this for a crowd or just treating yourself, the result is always a winner. Trust the process, keep your glasses cold, and enjoy the chocolatey magic.
Recipe FAQs
How to make a chocolate milkshake in the Ninja Slushi?
Whisk cocoa powder and sweetened condensed milk into a smooth paste before streaming in the chocolate milk and heavy cream. Pour the mix into the vessel and run the MILKSHAKE preset until it reaches a thick consistency.
Is it true the Ninja Slushi only makes water based slushies?
Actually, no. The machine has a specific MILKSHAKE setting that handles dairy based mixtures for a creamier result.
Can I use only chocolate milk for this recipe?
Using only chocolate milk will result in a thinner, icier drink. Adding heavy cream and condensed milk ensures a rich mouthfeel similar to the density found in our fantasy fudge recipe.
What prevents cocoa clumps from forming?
Whisking the cocoa powder with sweetened condensed milk first creates a dark paste that eliminates lumps. This emulsification ensures a smooth, mahogany colored finish.
Chocolate Milkshake Slushie for 4 Servings