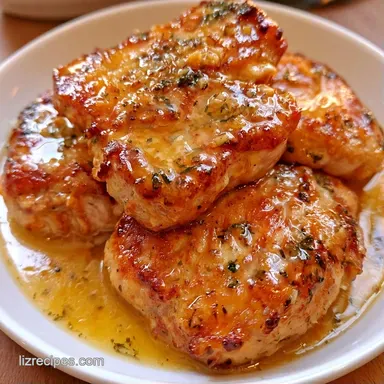
Crispy Garlic Butter Chicken Thighs
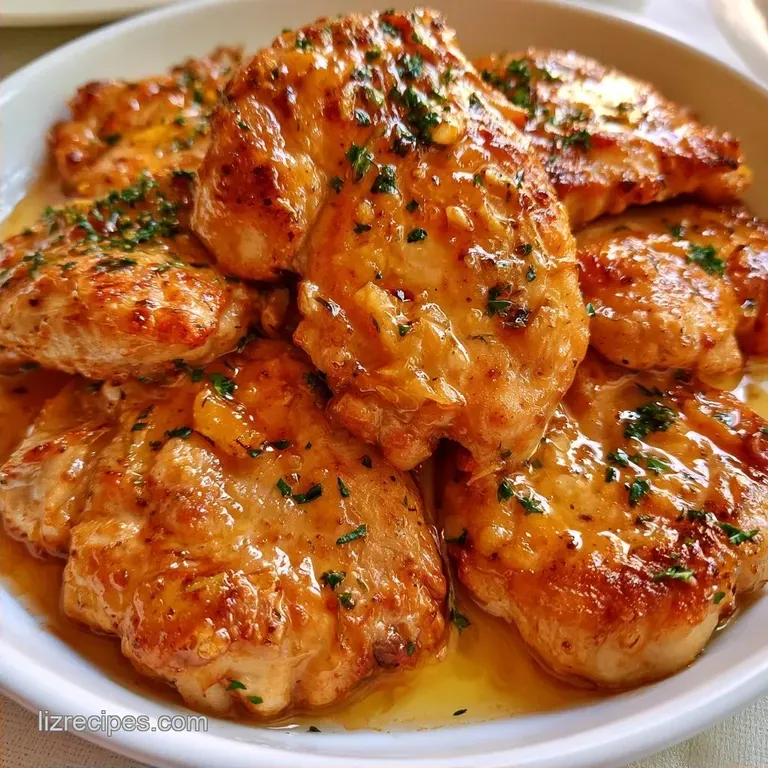
- Time: 10 min active + 30 min cook
- Flavor/Texture Hook: Mahogany colored crispy skin
- Perfect for: Effortless weeknight family dinners
The sound of butter foaming in a hot cast iron skillet is one of those noises that just feels like home. But let's be honest, most of us have had the experience of roasting chicken and ending up with pale, flabby skin that feels like rubber.
It happens when the skin doesn't get enough direct heat to render the fat properly before the meat cooks through.
This Garlic Butter Chicken recipe solves that by using a sear then-roast flow. Instead of just hoping for the best in the oven, we get the skin shattering crisp on the stove first. It takes a few extra minutes of active work, but the result is a completely different meal.
You can expect a dish that feels a bit fancy but fits right into the daily struggle of getting dinner on the table. The chicken stays plump, and the pan juices turn into a rich, garlic infused sauce that you'll want to pour over everything.
Why This Method Works
- The Initial Sear: High heat on the stove triggers a reaction between the proteins and sugars. Serious Eats notes that this creates the brown crust and deep flavor that oven roasting alone misses.
- Thigh Collagen: Since we use thighs, the connective tissue breaks down during the 20 minute roast. This keeps the meat moist even if you leave it in the oven for an extra couple of minutes.
- Late Garlic Addition: Garlic burns in seconds at high heat. Adding it at the very end ensures the flavor stays sweet and aromatic rather than bitter.
Gear You'll Need
A heavy cast iron skillet is the gold standard here because it holds heat and goes straight into the oven. If you don't have one, an oven safe stainless steel pan works, but avoid non stick since they often can't handle the 400°F oven heat.
You'll also need a meat thermometer. It's the only way to know for sure the meat is done without cutting into it and letting all the juices escape. A simple digital probe works best.
The Ingredient Breakdown
| Ingredient | Role | If You Don't Have It |
|---|---|---|
| Chicken Thighs | Main protein | Boneless (reduce roast time) |
| Unsalted Butter | Sauce richness | Ghee or salted butter (reduce salt) |
| Fresh Garlic | Aromatic base | Garlic powder (use 1/2 tsp) |
| Lemon Juice | Cuts the fat | Apple cider vinegar or white wine |
Quick Recipe Details
Right then, let's look at the timing. This is a fast moving recipe once the oven is hot.
- Prep time: 10 minutes
- Cook time: 30 minutes
- Total time: 40 minutes
- Yield: 4 servings
Cooking step by step
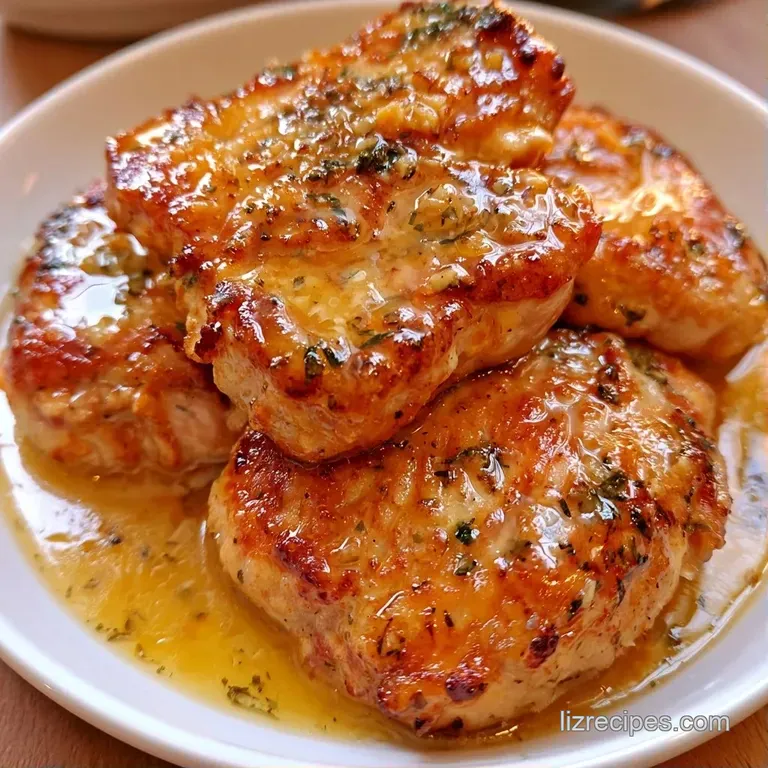
Preparing the Protein
Pat the chicken thighs completely dry with paper towels. Note: Moisture on the skin creates steam, which prevents browning. Season both sides with salt, pepper, and paprika.
Achieving the Golden Sear
Preheat your oven to 400°F (200°C). Heat 1 tbsp olive oil in your skillet over medium high heat. Place the thighs skin side down. Cook 5-7 minutes until the skin is mahogany colored and releases easily.
Finishing in the Oven
Flip the chicken over. Slide the skillet into the oven. Roast 15-20 minutes until the thermometer reads 165°F (74°C) in the thickest part.
Glazing for Gloss
Remove the pan from the oven. Set the heat to medium and stir in the butter and minced garlic. Cook 1-2 minutes until the butter is foamy and fragrant. Squeeze in the lemon juice and spoon the sauce over the meat. Garnish with chopped parsley.
Fixing Common Issues
If the garlic turns dark brown or black, it's likely the pan was too hot. Garlic is delicate and only needs a minute or two to soften. To prevent this, always remove the pan from the oven's direct heat before adding the butter.
Another issue is skin that stays soft. This usually happens because the oil wasn't hot enough when the chicken hit the pan. You should hear a loud sizzle immediately. If it's quiet, wait another minute before adding the meat.
Finally, don't panic if the chicken looks done but the thermometer is low. Thighs can look brown on the outside while remaining raw near the bone. Trust the number, not your eyes.
| Problem | Fix |
|---|---|
| Burnt Garlic | Add butter and garlic at the very end |
| Rubbery Skin | Pat chicken dry and use higher initial heat |
| Undercooked Meat | Roast until internal temp hits 165°F (74°C) |
Storage and Leftovers
Store any remaining Garlic Butter Chicken in a closed container in the refrigerator for up to 3 days. The sauce may thicken, but it will return to its liquid state once reheated.
To freeze, make sure the chicken has cooled entirely. Wrap pieces individually in foil and keep them in a freezer bag for up to 2 months. When reheating, put them in a baking dish with a touch of water or extra butter, cover with foil, and bake at 350°F (175°C) for 15 minutes.
Don't waste the pan drippings. Mix them into cooked white rice or blend them into cauliflower mash for an easy side dish.
Easy Flavor Twists
If you prefer a set it and forget it approach, you can try a Chicken with Garlic Butter recipe version. You'll lose the crispy skin, but the meat becomes incredibly tender.
For those who like a sweeter profile, you could swap the lemon for a honey garlic marinade. This adds a sticky glaze that kids usually love.
You can also make Butter Chicken Thighs with a creamy twist by stirring in two tablespoons of heavy cream or Greek yogurt during the final glazing step. These Butter Chicken Thighs become more of a comfort meal and pair well with crusty bread.
| Goal | What to change |
|---|---|
| Leaner meal | Use boneless skinless thighs |
| More zest | Add extra lemon zest to the butter |
| Spicier kick | Add 1/4 tsp cayenne to the rub |
What to Serve
To cut through the richness of this Garlic Butter Chicken, pair it with something vibrant or starchy. Steamed broccoli or roasted carrots are excellent choices as they absorb that delicious butter sauce.
For a more filling meal, serve the chicken atop wild rice or a pile of mashed potatoes. That combination of creamy potatoes and crisp skin is always a hit with the family.
Pro tip: add a crisp side salad dressed with a zesty vinaigrette. The acidity helps refresh your palate between tastes of the savory sauce, creating a more harmonious dish.
Common Kitchen Myths
Many believe that searing meat locks in the juices, but that is a misconception. Evaporation occurs throughout the cooking process no matter which method you choose. The real purpose of a sear is to develop deep flavor and a golden crust via browning.
Additionally, chicken thighs don't require as much resting time as a thick steak. A quick 5 minutes is plenty, as thighs are far more lenient than beef or chicken breasts.
This Garlic Butter Chicken is nearly foolproof, provided you don't let the garlic burn. It's a straightforward, comforting dinner that feels elegant without the pressure. Just keep the skin dry, rely on your meat thermometer, and love the sound of that sizzle.
Recipe FAQs
How to cook garlic butter chicken thighs?
Sear skin-side down in olive oil for 5–7 minutes, then roast at 400°F for 15–20 minutes. Finish the dish by stirring butter and garlic into the pan juices before adding lemon juice.
Is it true that bone-in thighs are too fatty for this recipe?
Surprisingly, no. The bone and skin provide essential moisture and depth, keeping the meat juicy during the high-heat roasting process.
Can I skip the searing step?
No, searing is vital for texture. Browning the skin in a skillet first creates a mahogany crust and a crisp finish that baking alone cannot achieve.
What secret makes the garlic sauce so rich?
Mixing butter into pan drippings. Incorporating butter and garlic into the rendered fat results in a savory, lustrous sauce. If you enjoyed this searing method, try a similar approach with our chicken rice.
Garlic Butter Chicken: Crispy Skin