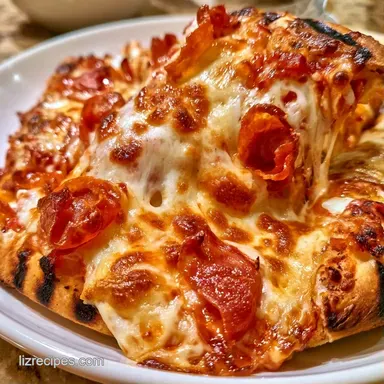
Grilled Camping Pizza in 15 Minutes
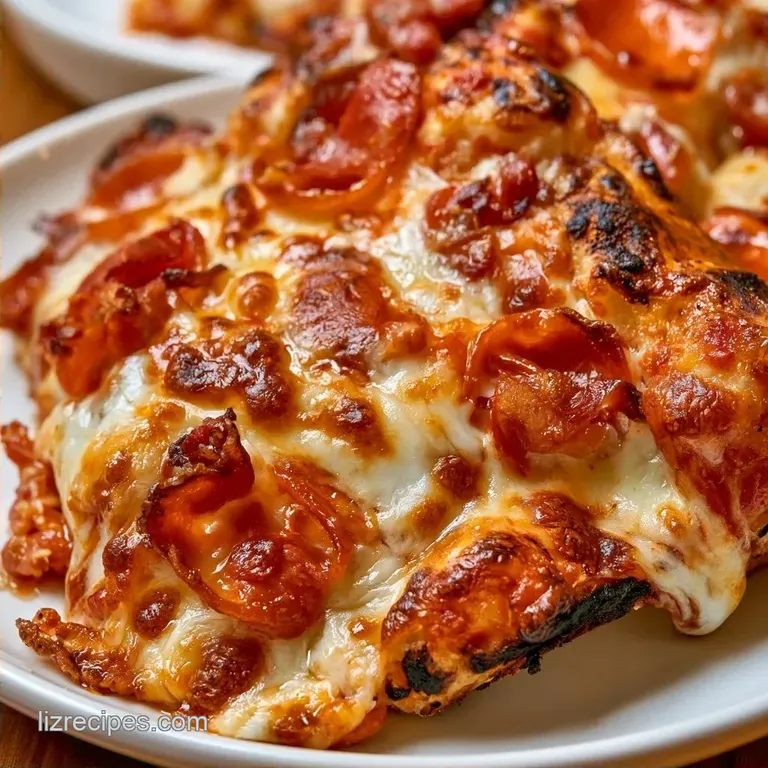
- Time: 5 min active + 10 min cook
- Flavor/Texture Hook: Blistered cheese and mahogany crust
- Perfect for: Family camping trips
Grilled Camping Pizza Tips
The hiss of dough hitting a hot cast iron pan is the best sound in the woods. For me, campfire cooking always felt like a trade off. You either got burnt edges or a raw, doughy center that tasted like sadness. I remember one trip where we tried to cook pizza on a flat grate, and the dough just slumped through the bars.
It was a mess.
That's why I switched to the skillet method. It turns a chaotic outdoor fire into a reliable heat source. This way, you get that authentic, wood fired feel without actually needing to build a stone oven in the middle of the forest.
Grilled Camping Pizza is about simplicity and high heat. You don't need a bunch of fancy tools, just some good ingredients and a bit of patience with your coals. It's a crowd pleaser that makes everyone at the campsite smell the garlic and cheese from a mile away.
Why the Pan Matters
Heat Reservoir: Cast iron holds a massive amount of energy, which prevents the pan from cooling down the moment the cold dough hits it.
Trapped Steam: Using a lid creates a mini oven, which melts the mozzarella and cooks the pepperoni while the bottom sears.
| Method | Time | Texture | Best For |
|---|---|---|---|
| Fresh Dough | 15 mins | Chewy and airy | Authentic feel |
| store bought | 15 mins | Consistent and soft | Quick setup |
The Right Gear
You can get by with basic tools, but a few specific items make a difference. I always bring a heavy duty spatula because trying to flip or slide a pizza out of a skillet with a fork is a recipe for disaster.
For the heat, you want a steady bed of hardwood coals. Avoid the giant, leaping flames. Those just char the outside of your Grilled Camping Pizza while leaving the middle raw. Once the coals are gray and glowing, you're ready to go.
What Goes In
I've found that low moisture mozzarella is the only way to go here. Fresh mozzarella releases too much water, which can lead to a soggy crust when you're cooking outdoors. Keep it simple and budget friendly.
| Ingredient | Role | If You Don't Have It |
|---|---|---|
| Pizza Dough | Structure | Flatbread or Naan |
| Mozzarella | Binding | Provolone or Monterey Jack |
| Pizza Sauce | Moisture | Crushed tomatoes with oregano |
The Full List:
- 1 lb store-bought pizza doughWhy this? Saves prep time and stays consistent
- 1 tbsp olive oilWhy this? Prevents sticking and adds flavor
- 1 cup pizza sauceWhy this? Classic base for traditional flavor
- 2 cups shredded low moisture mozzarella cheeseWhy this? Melts quickly without excess water
- 8 oz sliced pepperoniWhy this? Adds salt and a crisp edge
- 1/2 cup sliced bell peppersWhy this? Adds a fresh, crunchier element
Equipment Needed
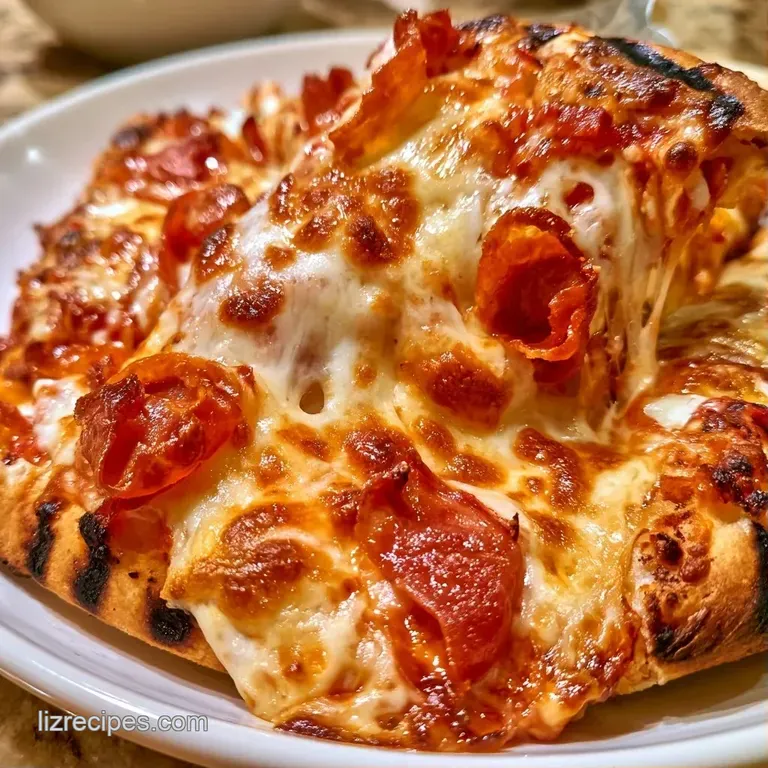
A 12 inch cast iron skillet is the heart of this recipe. It's virtually indestructible and handles the direct heat of a campfire perfectly. If you don't have one, a heavy stainless steel pan can work, but it won't hold the heat as well.
You'll also need a lid. A standard skillet lid is great, but a piece of heavy duty aluminum foil works just as well. This is the only way to get the cheese to blister without burning the bottom of your Grilled Camping Pizza.
Making the Pizza
- Place a 12 inch cast iron skillet directly onto the grill grate over hot coals. Heat until a drop of water evaporates instantly, then brush the surface with olive oil.
- Roll or stretch the pizza dough to fit the skillet.
- Lay the dough in the hot pan and cook for 2–3 minutes without toppings until the bottom is golden brown and the dough puffs slightly.
- Spread a thin layer of pizza sauce over the seared dough. Note: Too much sauce makes the crust soft.
- Add the shredded mozzarella cheese and pepperoni slices.
- Scatter the sliced bell peppers over the cheese.
- Cover the skillet with a lid or heavy duty aluminum foil to trap heat.
- Cook for another 5–7 minutes until the cheese is blistered and the crust edges are dark brown.
Solving Common Issues
If your crust feels a bit soft, it's usually because the pan wasn't hot enough before the dough went in. I once rushed this and ended up with a pizza that felt like a thick pancake. Trust the water drop test.
Another common issue is the cheese not melting fast enough. This happens if your lid isn't sealing properly. Make sure the foil is tucked tight around the edges of the pan to keep the heat inside.
Preventing Soggy Bottoms
This happens when you add toppings to raw dough. By searing the bottom first, you create a barrier that keeps the sauce from soaking into the bread.
Fixing a Raw Center
If the edges are done but the middle is doughy, slide the pizza out of the pan and place it directly on the grill grate for 60 seconds.
Managing Flare Ups
Too much oil or dripping pepperoni can cause flames. Keep a spray bottle of water nearby to dampen the coals if the fire gets too aggressive.
| Problem | Root Cause | Solution |
|---|---|---|
| Doughy Center | Low pan heat | Pre sear dough longer |
| Burnt Bottom | Too much flame | Move to cooler coals |
| Unmelted Cheese | Leaking lid | Seal tighter with foil |
Flavor Variations to Try
For a different vibe, try a BBQ base. Use a Tangy BBQ Sauce recipe instead of tomato sauce and swap the pepperoni for grilled chicken and red onions. It's a huge hit with kids who find traditional pizza a bit boring.
You can also go for a white pizza. Skip the sauce and use a mix of ricotta and mozzarella with a drizzle of olive oil and fresh garlic. This version of Grilled Camping Pizza feels a bit more sophisticated but takes the same amount of effort.
Quick Tweaks:
- Extra spice? → Add red pepper flakes to the sauce.
- More crunch? → Add thinly sliced red onions.
- Salty kick? → Sprinkle feta over the mozzarella.
Saving Your Leftovers
Place any remaining slices in a sealed container and keep them refrigerated for a maximum of 3 days. I would avoid freezing this particular version, as the crust can become gummy.
When reheating, skip the microwave. Simply place the slice in a dry skillet over medium heat for 2-3 minutes to crisp up the bottom and avoid sogginess.
To avoid waste, roll any leftover dough into small balls and fry them in the remaining skillet oil to create quick campfire donuts. Toss them in cinnamon sugar while they're still hot.
Great Side Dishes
Pizza is heavy, so I like to pair it with something bright and charred. A side of Grilled Asparagus Parmesan adds a nice bitterness that cuts through the richness of the cheese.
A simple arugula salad with lemon vinaigrette also works well. The peppery greens balance the salty pepperoni and make the meal feel more complete. If you're feeling extra, serve it with a side of garlic dipping sauce made from mayo and minced garlic.
The Campfire Classic
Keep it traditional with some grilled corn on the cob. The sweetness of the corn and the saltiness of the Grilled Camping Pizza create a perfect contrast that feels like a true outdoor feast.
Recipe FAQs
How to prevent the dough from sticking?
Brush the surface with olive oil once the skillet is hot. This creates a non-stick barrier that ensures the crust releases easily after searing.
Is it true that toppings should be added before searing the dough?
False. Searing the plain dough for 2 3 minutes first prevents the crust from becoming soggy and ensures a golden brown bottom.
Which sign shows the pan is hot enough?
Wait for a drop of water to evaporate instantly. This sensory cue confirms the cast iron has reached the high temperature necessary for a mahogany crust.
Why is a lid required for the cheese?
Trapping the heat melts the mozzarella and blisters the pepperoni without overcooking the base. This meal pairs perfectly with grilled wings tossed in a 3-ingredient BBQ sauce.
Grilled Camping Pizza